A working garage door is key for your home’s safety and security. Garage door torsion springs are vital for smooth door operation. If they fail, it’s a big problem. That’s why knowing how to repair them is important.
This guide will show you how to fix garage torsion springs. We’ll cover the tools and materials you need. Plus, we’ll share tips for a successful installation.
Whether you’re experienced or new to DIY, this guide will help you. You’ll learn about different torsion springs and how to measure and install a new one. Our aim is to give you a detailed guide for a safe and efficient repair.
By following this guide, you can spot and fix worn-out torsion springs. We’ll also talk about safety steps to keep you safe while repairing. With the right tools and materials, you can fix your garage door and make it work smoothly again. Let’s start our journey into garage torsion spring repair and installation.
Understanding Garage Door Torsion Springs
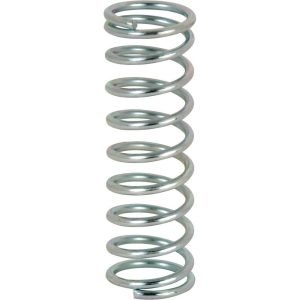
Garage door torsion springs play a key role in balancing the door’s weight. They ensure the door operates smoothly and safely. These springs store energy as the door closes, making it easier to open.
It’s important to check torsion springs regularly for wear and tear. Look for rust, corrosion, or damage. Knowing about different types of springs helps homeowners make better choices for maintenance or replacement.
How Torsion Springs Work
Torsion springs use a twisting motion to store energy. When the garage door closes, they twist and store energy. This energy is released as the door opens, making it easier to lift.
Types of Torsion Springs
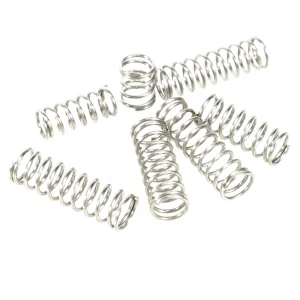
There are many types of torsion springs, each for different door weights and needs. Some common ones include:
- Standard torsion springs: good for most residential doors
- Heavy-duty torsion springs: for heavier doors or busy areas
- Galvanized torsion springs: resistant to corrosion for harsh weather
Signs of Wear and Failure
Regular checks can spot signs of wear and tear. Look for:
- Rust or corrosion on the spring coils
- Damage to the spring coils or mounting hardware
- Uneven door movement or loud noises
Understanding torsion springs helps homeowners keep their garage doors in good shape. Regular checks and maintenance can prevent sudden failures and extend spring life.
Critical Safety Precautions Before Starting
When dealing with garage torsion spring safety, it’s vital to be careful. You need to avoid injuries and do a good job. Before you start, put on gloves, safety glasses, and a ladder stabilizer. This keeps you safe from garage door safety risks.
Securing the garage door is a big part of garage torsion spring safety. Here’s how to do it:
- Turn off the power to the garage door opener
- Use clamps or vise grips to lock the door
- Make sure the door is balanced and level
Working with torsion spring repair safety comes with dangers. These include spring failure, door collapse, and getting trapped. But, by being careful and following safety rules, you can avoid these risks. Always remember, garage door safety is most important when handling torsion springs.
By taking these safety steps, you can have a safe and successful torsion spring repair safety project. Always keep garage door safety in mind. Take the right steps to protect yourself and others from harm.
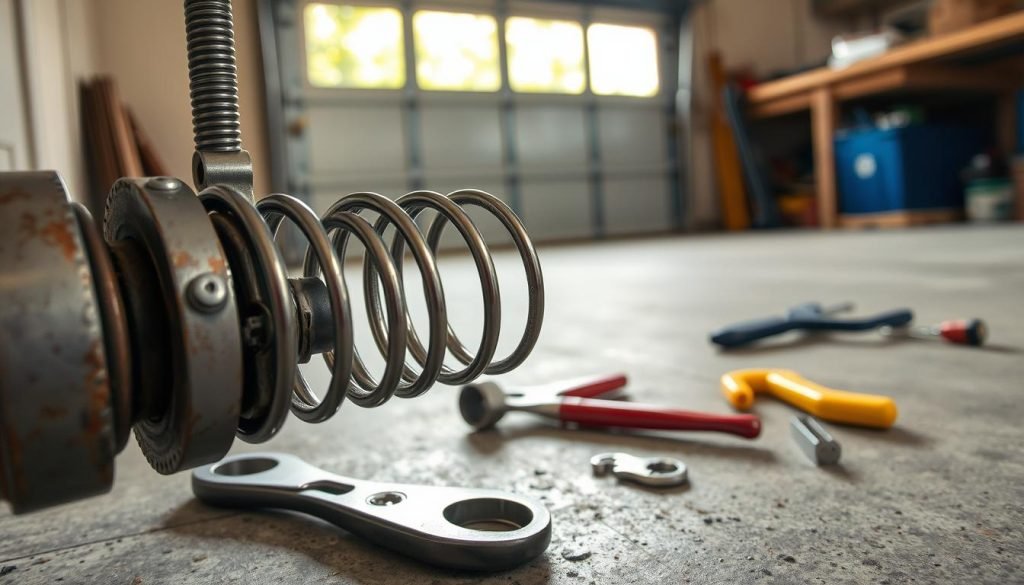
Essential Tools and Materials for Garage Torsion Spring Repair
To fix a garage torsion spring, you need the right tools and materials. Having the right tools and materials makes the repair safe and efficient.
Required Tools List
Here are the tools you need for a garage torsion spring repair:
- Wrenches and pliers for loosening and tightening bolts and nuts
- Socket set for removing and installing torsion spring components
- Measuring tape for measuring the spring and other components
Safety Equipment Needed
When working with garage torsion springs, safety is key. You’ll need:
- Gloves to protect your hands from cuts and abrasions
- Safety glasses to protect your eyes from debris
- A ladder or step stool to access the springs safely
Additional Materials
You might also need lubricants and spring clips for the repair. These help make the repair smooth and safe.

With the right tools, materials, and safety gear, you’re ready for a successful garage torsion spring repair.
| Tool/Material | Description |
|---|---|
| Wrenches and pliers | For loosening and tightening bolts and nuts |
| Socket set | For removing and installing torsion spring components |
| Measuring tape | For measuring the spring and other components |
How to Measure Your Garage Torsion Spring Correctly
Measuring your garage torsion spring is very important. Accurate measurement ensures a good repair. You need to know the spring’s length, diameter, and wire size. This info helps pick the right torsion spring sizing for your garage door.
To measure your garage torsion spring, follow these steps. First, measure the spring’s length by counting the distance between its ends. Then, use a caliper or ruler to measure the diameter. Lastly, count the coils and measure the wire thickness to find the wire size.
Here’s how to measure your garage torsion spring:
- Measure the length of the spring
- Measure the diameter of the spring
- Measure the wire size of the spring
By following these steps, you can get the right garage torsion spring measurement and torsion spring sizing for your garage door.
Always be careful when working with garage torsion springs. If you’re not sure about anything, it’s best to get professional help.
| Spring Type | Length | Diameter | Wire Size |
|---|---|---|---|
| Torsion Spring | 20-30 inches | 1-2 inches | 0.25-0.5 inches |
Preparing Your Garage Door for Spring Replacement
Getting your garage door ready for spring replacement is key. You need to secure the door, release the old spring’s tension, and remove it. Doing this right is important to avoid accidents or damage.
First, lock the door so it doesn’t move or fall. You can use clamps or C-clamps to keep it in place. Then, you’ll need to let go of the old spring’s tension. This can be done by winding it down or using a special tool.
After the tension is gone, you can remove the old spring. This means taking it off the door and getting rid of any leftover parts. Always be careful during this step to stay safe.
Here are some important steps to get ready:
- Secure the door to prevent movement or falling
- Release tension in the old spring using a spring release tool or by winding down the spring
- Disconnect the spring from the door and remove any remaining hardware
By following these steps, you can make sure the spring replacement goes smoothly. Always focus on safety and preparation to avoid any problems.
| Step | Description |
|---|---|
| 1 | Secure the door to prevent movement or falling |
| 2 | Release tension in the old spring using a spring release tool or by winding down the spring |
| 3 | Disconnect the spring from the door and remove any remaining hardware |
Step-by-Step Guide to Garage Torsion Spring Installation
Installing garage torsion springs needs a careful step-by-step guide. This ensures a safe and successful job. The first step is torsion spring mounting. It’s important to pay close attention to avoid mistakes.
Garage door spring winding is another critical part. You need to wind the spring to the right tension. Use a winding bar and follow the maker’s instructions. Remember, wrong tension can wear out the spring too soon and cause accidents.
Here are some key steps to follow during the installation process:
- Mount the new spring, ensuring it’s securely fastened to the torsion spring shaft.
- Wind the spring to the recommended tension, taking care not to over-wind or under-wind.
- Test the installation to ensure the garage door is balanced and functioning smoothly.
By following these steps and taking the necessary precautions, you can ensure a successful garage torsion spring installation. This will make your garage door safe and functional.
| Step | Description |
|---|---|
| 1. Mounting | Mount the new spring, ensuring it’s securely fastened to the torsion spring shaft. |
| 2. Winding | Wind the spring to the recommended tension, taking care not to over-wind or under-wind. |
| 3. Testing | Test the installation to ensure the garage door is balanced and functioning smoothly. |
Common Mistakes to Avoid During Repair
Garage torsion spring repair can be tricky. Avoiding common errors is key to a successful fix. Mistakes like wrong spring measurement, bad installation, and wrong tightness are common.
Other pitfalls include using the wrong tools and not following safety rules. Torsion spring installation errors can cause more damage and even hurt you.
To steer clear of these issues, follow a detailed guide. Take your time to measure and install the spring right. Knowing these mistakes helps you avoid garage door repair pitfalls and get the job done right.
By being careful and taking the right steps, you can make sure your garage spring repair is safe and effective.
Maintenance Tips for Extended Spring Life
Keeping your garage torsion springs in good shape is key to a long-lasting garage door. A well-cared-for spring can last for many years. It ensures your garage door works smoothly and safely. To keep your springs in top condition, regular torsion spring inspection and a maintenance schedule are vital.
Regular Inspection Schedule
Check your springs for wear and tear signs like rust or damage. Also, make sure the spring’s tension and balance are right. Do this garage door spring maintenance check every 6-12 months.
Preventive Measures
To avoid early wear, lubricate your springs often and keep the tracks clean. Make sure the garage door is balanced and aligned. These steps help your garage torsion springs last longer and your door operate smoothly.
When to Call a Professional
If you see any wear or damage on your springs, get a pro’s help. A professional can do a detailed garage torsion spring maintenance check. They’ll tell you if you need repairs or a new spring. Regular care of your springs means your garage door will work safely and smoothly for years.
Troubleshooting After Installation
After installing a new garage torsion spring, it’s key to make sure it’s working right. Garage torsion spring troubleshooting helps spot problems early. Issues like uneven door movement, noisy operation, or spring failure can happen.
To find these problems, first check the torsion spring installation issues from the setup. Ensure the spring is correctly placed and securely fastened to the door. Also, look for any wear or damage on the spring or other parts.
Some common garage door spring problems include:
- Uneven door movement: This can be caused by an improperly installed spring or uneven tension.
- Noisy operation: This can be caused by a loose or damaged spring, or worn-out rollers.
- Spring failure: This can be caused by excessive wear or damage to the spring.

By following these steps, you can find and fix issues with your garage torsion spring. This ensures it operates smoothly and safely. Always follow safety rules when working with garage doors and springs. If you’re unsure, get professional help.
| Issue | Cause | Solution |
|---|---|---|
| Uneven door movement | Improperly installed spring or uneven tension | Check and adjust the spring installation and tension |
| Noisy operation | Loose or damaged spring, or worn-out rollers | Check and replace the spring or rollers as needed |
| Spring failure | Excessive wear or damage to the spring | Replace the spring with a new one |
Conclusion: Ensuring Your Garage Door’s Safe Operation
Keeping your garage door’s torsion springs in good shape is key for your home’s safety. By following the guide in this article, you can fix your garage door’s torsion springs safely. This ensures your garage door works well and reliably.
Regular garage door maintenance helps your torsion springs last longer and keeps you safe. If you’re not sure or have problems, call a professional for help.
By focusing on garage door safety, you ensure your home’s entry is always secure. Take care of your garage door and its torsion springs. This way, you’ll enjoy a safe and convenient garage door for many years.